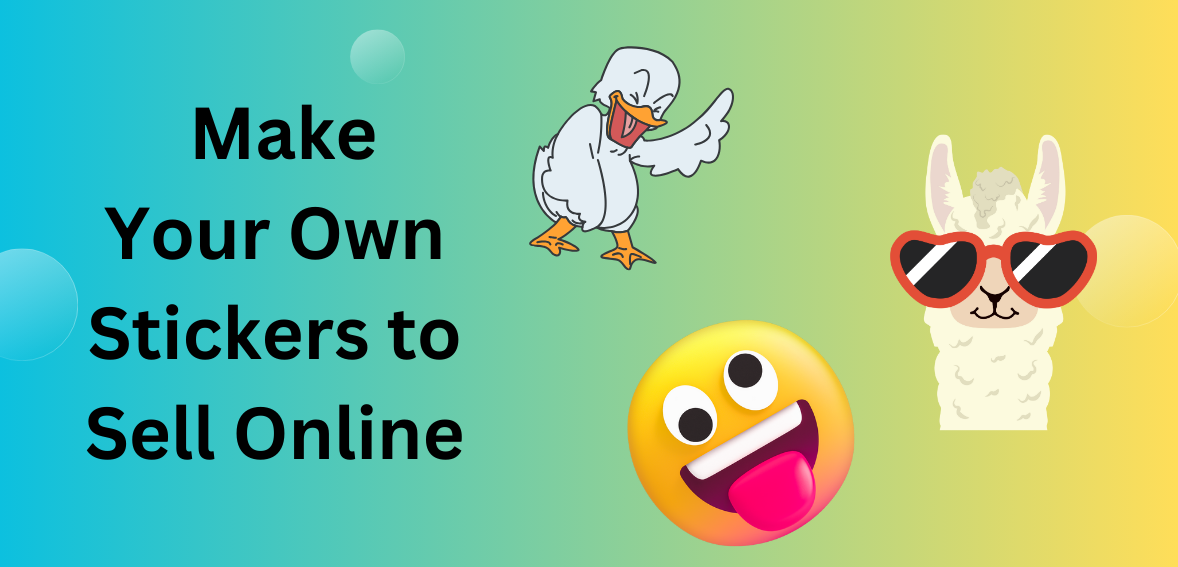
Welcome to the vibrant world of selling stickers online! Stickers have become a popular form of self-expression, allowing people to personalize their belongings and share their unique style with the world. Whether you’re an artist looking to turn your designs into profit or simply someone with a knack for creativity, this blog post will guide you through the process of making your stickers to sell online in just three simple steps.
From designing eye-catching graphics to printing and cutting them with precision, we’ll cover it all. And don’t worry if you’re new to this – we’ve got tips and resources that will make the entire process a breeze. So let’s dive right in and unleash your inner sticker entrepreneur! Get ready to leave your mark on the world, one sticky creation at a time. Let’s get started!
Step 1: Designing Your Stickers
Designing your own stickers is where the fun begins! Whether you’re an artist or just have a knack for creativity, this step allows you to showcase your unique style and personality. But before diving into the design process, it’s important to consider a few key factors.
First, think about the theme or niche of your stickers. Are you passionate about nature? Love cute animals? Or maybe you’re into retro designs? Choosing a specific theme will help attract a target audience and make your stickers more marketable.
Next, gather the necessary tools and resources for designing. Luckily, there are plenty of user-friendly software options available such as Adobe Illustrator or Canva that can help bring your ideas to life. Additionally, investing in a good quality printer and sticker paper will ensure professional-looking results.
Once you have all these elements in place, let your imagination run wild! Experiment with different shapes, colors, and patterns until you find what resonates with you. Remember to keep things simple yet eye-catching – after all, stickers should be visually appealing even from afar!
In conclusion (not), designing your own stickers is an exciting opportunity to express yourself creatively while potentially earning some extra income. So go ahead and unleash those artistic skills – who knows where this creative journey may take you!
A. Choosing a Theme or Niche
When it comes to designing your own stickers, choosing a theme or niche is an important first step. It’s what will set your stickers apart and attract customers who are interested in that particular style or subject matter.
So how do you choose the right theme or niche for your stickers? Start by considering your own interests and passions. What subjects do you enjoy and feel knowledgeable about? This could be anything from animals to music to inspirational quotes.
Next, think about your target audience. Who do you want to sell your stickers to? Are they young adults who love pop culture references? Or maybe parents looking for cute designs for their kids’ belongings?
Once you have narrowed down potential themes, research the market demand. Are there already a lot of similar sticker designs available? If so, consider how you can put your unique spin on it or find a smaller sub-niche within that theme.
Remember, choosing a theme or niche is all about finding something that excites both you and potential customers. So take some time to brainstorm ideas, explore different options, and ultimately choose a theme that reflects your creativity and resonates with your target audience.
B. Tools and Resources for Designing Stickers
When it comes to designing stickers, having the right tools and resources is essential. Luckily, there are plenty of options available to help you create eye-catching and unique designs.
One popular tool for designing stickers is graphic design software like Adobe Illustrator or Photoshop. These programs offer a wide range of features and tools that allow you to unleash your creativity and bring your ideas to life. Whether you’re a beginner or more experienced designer, these programs provide the flexibility and control needed to create professional-looking stickers.
If you don’t have access to graphic design software or prefer something more user-friendly, there are also online design platforms that cater specifically to sticker creation. Websites like Canva or Sticker Mule’s customizer tool offer pre-made templates, graphics, and fonts that make it easy for anyone to design their own stickers without any prior design experience.
Another valuable resource for sticker designers is stock image websites. These sites provide a vast library of high-quality images that can be used as inspiration or incorporated into your designs directly. Platforms such as Unsplash or Pixabay offer free-to-use images in various themes and styles, giving you endless possibilities when it comes to creating your sticker artwork.
In addition to digital tools, traditional art supplies can also be utilized in sticker design. Pencils, markers, watercolors – these mediums can add a unique handmade touch to your designs before scanning them into the computer for further editing.
No matter which tools you choose, remember that experimentation is key! Don’t be afraid to try new techniques or mix different resources together – this will help you develop your style while ensuring that each batch of stickers stands out from the rest.
Step 2: Printing and Cutting Your Stickers
Printing and cutting your stickers is an important step in the process of creating your own sticker business. There are different printing options available, depending on your budget and desired quality. You can choose to print your stickers at home using a regular printer, or you can opt for professional printing services.
If you decide to print at home, make sure you invest in high-quality sticker paper that is compatible with your printer. This will ensure that your stickers come out vibrant and durable. It’s also essential to adjust the settings on your printer for optimal results.
For those who prefer professional printing services, there are many online platforms that offer affordable options. These websites allow you to upload your design and order custom-made stickers in various shapes and sizes. Keep in mind that bulk orders often come with discounts, so it might be worth considering if you plan on selling a large quantity of stickers.
After printing, it’s time to cut out the individual stickers. Depending on the complexity of your designs, this can be done manually with scissors or using a cutting machine like a Cricut or Silhouette Cameo. Investing in a cutting machine can save time and ensure precise cuts every time.
Ensure that each sticker is carefully cut along its edges without any rough edges or excess paper showing around it. This attention to detail will give customers confidence when purchasing from you as they know they’ll receive high-quality products.
Once all of your stickers are printed and cut, it’s essential to package them properly before shipping them off to customers. Look for packaging materials such as clear plastic bags or envelopes specifically designed for protecting delicate items like stickers during transit.
When choosing affordable shipping options, consider partnering with postal services that offer flat-rate shipping boxes or envelopes based on weight rather than size. This way, no matter how many stickers someone orders from you, they’ll pay the same low rate for shipping while ensuring their purchase arrives safely.
By following these steps – designing captivating artwork, printing with care, cutting precisely, and packaging securely – you’ll be well
A. Different Printing Options
When it comes to printing your stickers, you have several options to choose from. Each option offers its own advantages and considerations, so it’s important to find the one that suits your needs best.
One popular option is using a professional printing service. These services often have high-quality equipment and materials, ensuring that your stickers look polished and vibrant. They can handle large quantities of stickers at once, making them a great choice if you plan on selling in bulk.
If you prefer a DIY approach, you can also consider investing in a good quality printer at home. This allows for more flexibility in terms of design and quantity. However, keep in mind that the print quality may not be as professional as with an external service.
Another option is using online sticker printing platforms. These platforms provide templates and tools to help you create custom designs easily. They offer various printing options such as vinyl or glossy finishes.
The choice of printing method depends on factors like budget, quantity needed, and desired level of professionalism. So take some time to research each option before settling on one that works best for you!
B. Tips for Cutting Stickers at Home
When it comes to cutting your stickers at home, there are a few tips and tricks that can help you achieve clean and professional results.
Make sure you have the right tools for the job. A sharp pair of scissors or a precision knife will give you more control when cutting intricate designs. If you’re working with larger stickers or want straight edges, consider investing in a paper trimmer or a cutting machine.
Next, take your time and be patient. Rushing through the cutting process can lead to uneven lines and mistakes. Take breaks if needed to maintain focus and accuracy.
Additionally, always start by trimming off any excess material around your sticker design before making any detailed cuts. This will help prevent accidental damage to your stickers.
If you’re struggling with cutting curved shapes or intricate details, try using small circular motions instead of trying to cut in one continuous line. This technique can provide more control and precision.
Don’t forget about safety! Always exercise caution when using sharp tools, especially if you’re new to crafting or have little experience with cutting materials.
By following these tips for cutting stickers at home, you’ll be able to create high-quality products that are ready for packaging and shipping!
Step 3: Packaging and Shipping Your Stickers
Packaging and shipping your stickers is a crucial step in ensuring that they arrive safely to your customers. The right packaging materials can protect your stickers from damage during transit, while affordable shipping options can help ship your stickers.

