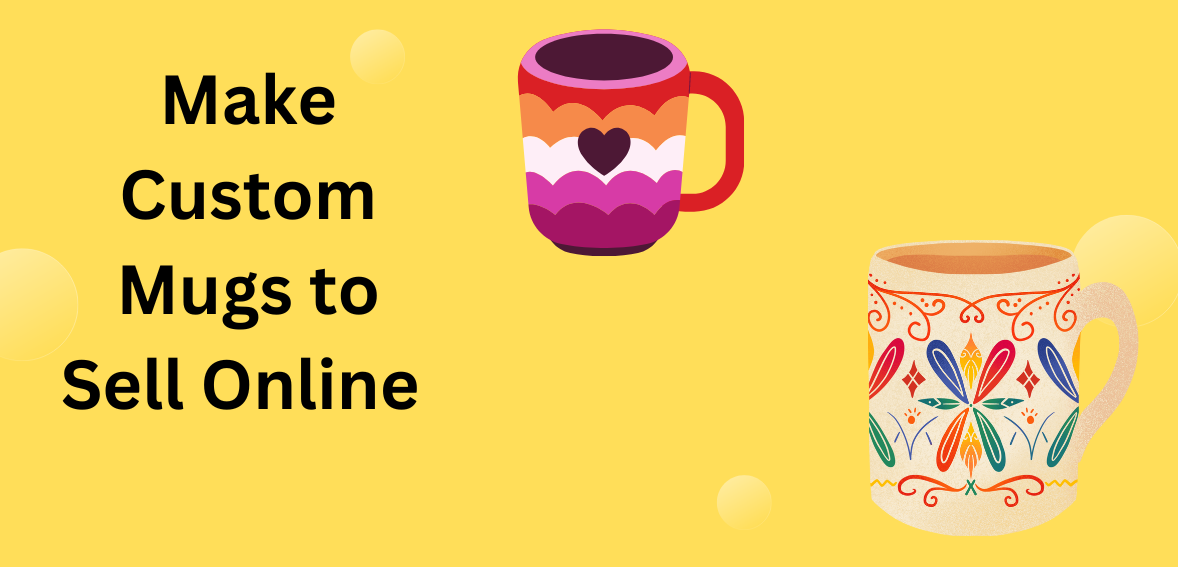
Are you looking for a creative and profitable side hustle? Look no further than custom mugs! With their wide appeal and endless design possibilities, custom mugs have become a hot commodity in the online marketplace. Whether you’re a talented artist or just someone with an eye for unique designs, making and selling your own custom mugs is easier than ever before. In this blog post, we’ll guide you through five easy steps to create stunning custom mugs that will fly off the virtual shelves. So grab your favorite beverage (in a mug, of course!), and let’s get started on this exciting journey into the world of personalized drinkware!
Step 1: Gathering Materials and Tools
Before you dive into the exciting world of custom mug making, it’s important to gather all the necessary materials and tools. Don’t worry, you won’t need a fancy studio or expensive equipment. Here’s what you’ll need:
1. Blank Mugs: Start by selecting high-quality blank mugs as your canvas. Look for mugs made from durable materials like ceramic or porcelain, which provide a smooth surface for applying your designs.
2. Design Software: To create stunning designs for your custom mugs, you’ll need access to design software. There are plenty of options available online, both free and paid, that offer user-friendly interfaces and powerful features.
3. Image Transfer Paper: This special paper allows you to print out your designs using an inkjet printer before transferring them onto the mugs later in the process.
4. Heat Press Machine or Oven: Depending on your budget and preferences, choose between using a heat press machine or an oven to apply heat during the curing process.
5. Sublimation Ink (optional): If you’re looking to achieve vibrant colors and long-lasting prints on your custom mugs, consider investing in sublimation ink specifically designed for use with ceramics.
6. Protective Gear: Safety first! Wear gloves when handling certain materials like transfer paper or chemicals to protect yourself from any potential harm.
7. Packaging Supplies: Once your custom mugs are ready for sale, make sure you have proper packaging supplies such as bubble wrap or boxes to ensure their safe delivery to customers.
Now that we’ve gathered all our materials and tools let’s move on to step two – designing the mug! With everything at hand, get ready to unleash your creativity onto these blank canvases waiting eagerly for their transformation into personalized works of art!
Step 2: Designing the Mug
When it comes to making custom mugs, the design is where your creativity can truly shine. This step allows you to bring your unique ideas and personal touch to the mug, making it a one-of-a-kind piece that customers will love. Here are some easy steps to help you design your custom mugs.
1. Start by brainstorming different design ideas. Consider what themes or styles resonate with you and would appeal to potential buyers. Whether it’s simple typography, intricate illustrations, or bold patterns, let your imagination run wild.
2. Once you have a few design concepts in mind, grab a pen and paper or use digital software like Adobe Illustrator or Canva to sketch out your ideas. Play around with different layouts and elements until you find a design that speaks to you.
3. Remember that simplicity often works best for mug designs as they need to be visually appealing but not overwhelming when transferred onto the curved surface of the mug.
4. If you’re not confident in your drawing skills, don’t worry! There are plenty of resources available online where you can find free clip art or vector graphics that can be easily incorporated into your mug design.
5. Another option is using text-based designs such as quotes, jokes, or personalized messages that resonate with your target audience.
6. Explore various color schemes and font styles that complement each other well while ensuring readability on the final product.
7. Once you have finalized your mug design digitally or on paper, take some time to step back from it before moving forward.
Designing custom mugs is an opportunity for self-expression and capturing the attention of potential buyers. Make sure every aspect of the design reflects who you are as an artist/designer, and consider getting feedback from others before proceeding.
If necessary, tweak certain elements until everything feels just right. Then, you’ll move on exciting part – applying this amazing creation to actual mugs.
Step 3: Applying the Design to the Mug
Now that you have your materials and tools ready, it’s time to get creative and start applying your design to the mug! This is where the magic happens as you bring your vision to life.
1. Clean the surface: Before you begin, make sure to clean the mug thoroughly with soap and water. Any dirt or oil residue can interfere with the adhesion of your design. A clean surface will help ensure a crisp and long-lasting result.
2. Choose your method: There are various ways to apply a design to a mug, depending on your preference and available resources. You can use vinyl decals or stickers, heat transfer paper, or even hand-paint directly on the mug using ceramic paint pens. Each method has its unique charm and style.
3. Prepare your design: If you’re using vinyl decals or stickers, carefully cut out your desired shape or pattern using scissors or a cutting machine like a Cricut. For heat transfer paper, print out your design onto the special paper using an inkjet printer.
4. Positioning is key: Once you have everything prepared, decide on where you want to place your design on the mug. Take into consideration factors such as size, symmetry, and visibility when deciding placement for maximum impact.
5. Apply with care: If using vinyl decals or stickers, peel off their backing and carefully position them onto the cleaned surface of the mug one at a time. Smooth out any air bubbles by gently pressing down with a credit card or scraper tool.
6. Transfer technique: In the case of heat transfer paper, preheat the iron box (without steam)to medium-high temperature. Place hot pad/foam pad under flat-bottomed coffee mugs. Cover printed image/applique sheet face down over the area where the final image is desired.
Apply firm pressure while moving back & forth for approximately 10-12 seconds. Let cool, remove the backer and you will be left with a beautiful design adhered
Step 4: Curing the Design
Now that you have applied your design to the mug, it’s time to cure it. This step is crucial because it ensures that your design will last even after repeated use and washing. Curing essentially means setting or bonding the design onto the surface of the mug permanently.
To start, carefully place your mugs in a preheated oven at a temperature recommended by the manufacturer of your chosen heat transfer vinyl or ceramic paint. It is important to follow their instructions precisely to achieve optimal results.
Allowing sufficient curing time is essential for a durable finish. Typically, this can range from 15-20 minutes depending on the materials used and oven temperature. During this process, keep an eye on your mugs to ensure they don’t overheat or get damaged.
Once the curing time has elapsed, turn off the oven and let them cool down completely before removing them. This cooling period helps solidify and strengthen the bond between the design and mug surface.
After cooling, inspect each mug carefully for any imperfections or signs of peeling or fading in order to address them promptly if necessary. If you notice any issues with durability, consider adjusting your curing process next time by increasing temperature or prolonging baking time.
Remember that proper care instructions are crucial for maintaining longevity of custom mugs once sold online as well. Advise customers to avoid using abrasive cleaners or scrubbing brushes that could potentially damage their designs during regular cleaning.
In addition to ensuring long-lasting durability for customer satisfaction, investing effort into properly curing your designs also enhances their professional appearance – which ultimately boosts sales potential!
By following these steps meticulously throughout every stage – from gathering materials and designing right up to packaging – you’ll be well-equipped to create high-quality custom mugs ready for sale online! So go ahead and put these tips into practice today!
Step 5: Packaging and Selling Your Custom Mugs
Packaging and selling your custom mugs is the final step in turning your creativity into profit. Once you’ve finished designing and curing the mugs, it’s time to present them to potential customers in an appealing way. Here are some tips on how to package and sell your custom mugs effectively.
Consider investing in high-quality packaging materials. A sturdy box or gift bag will not only protect the mug during transit but also add a professional touch to your product. You can even customize the packaging by adding your logo or design elements that match the theme of your mugs.
Next, think about how you want to showcase your mugs online. High-resolution photographs taken from different angles can give potential buyers a clear idea of what they’re purchasing. Consider using props or staging the mugs in creative settings to make them more visually appealing.
When it comes to pricing your custom mugs, do some research on similar products available in the market. Take into account factors such as material costs, labor hours invested, and any additional expenses incurred during production. Set a price that reflects both their quality and uniqueness while remaining competitive.
To reach a wider audience, leverage social media platforms like Instagram or Facebook for promoting and selling your custom mugs. Create eye-catching posts with engaging captions that highlight their features and benefits. Collaborate with influencers who have a relevant following to increase brand visibility.
Consider setting up an online store through platforms like Etsy or Shopify where customers can browse through different designs, place orders easily, and make secure payments. Ensure that your website has clear product descriptions along with shipping policies so that customers know exactly what they’re getting into before making a purchase.
Another effective strategy is offering personalized options for customers who want something unique beyond pre-designed options available on-site. This could include customized text or images based on their preferences which adds value to each individual purchase.
Lastly, ongoing customer support is essential for maintaining long-term relationships with your buyers. Respond promptly to inquiries and address any concerns or issues they may have
Conclusion
Congratulations! You have now learned how to make custom mugs to sell online. By following these five easy steps, you can create unique and personalized designs that will attract customers and set your products apart from the competition.
Remember, gathering the right materials and tools is crucial for a successful mug-making process. Take your time in designing the mug, ensuring it reflects your creativity and resonates with your target audience. Applying the design onto the mug requires precision and attention to detail, so be patient during this step.
Once you’ve completed applying the design, curing it properly is essential to ensure its longevity. Follow the recommended instructions for curing specific types of ink or paint used on your mugs. This will guarantee that your designs stay intact even after multiple uses and washes.
Packaging plays a vital role in attracting customers and protecting your custom mugs during shipping. Invest in high-quality packaging materials that not only provide adequate protection but also give a professional look to your products.
Now that you have mastered these steps, it’s time to unleash your creativity and start selling custom mugs online! Market your products through various channels such as social media platforms, e-commerce websites, or even setting up an independent online store.
Remember to continually evaluate customer feedback and adapt accordingly – whether it’s experimenting with new designs or introducing limited edition collections – staying innovative will keep customers coming back for more!
So go ahead; let those creative juices flow! Start making custom mugs today and turn them into profitable ventures while delighting customers with one-of-a-kind creations they can cherish forever.


